
Pressing a back 3
Insight into a basic back 3 press
Pressing a back 3 is slightly more complicated than pressing a back 4 due to the two threatening Defensive Midfielders in the press. This leads to multiple ways to press a back 3. Entailed below is one of the simple ways you can press a back 3. Please note that the team pressing is in blue and the outletting team is in black.
Starting Structure
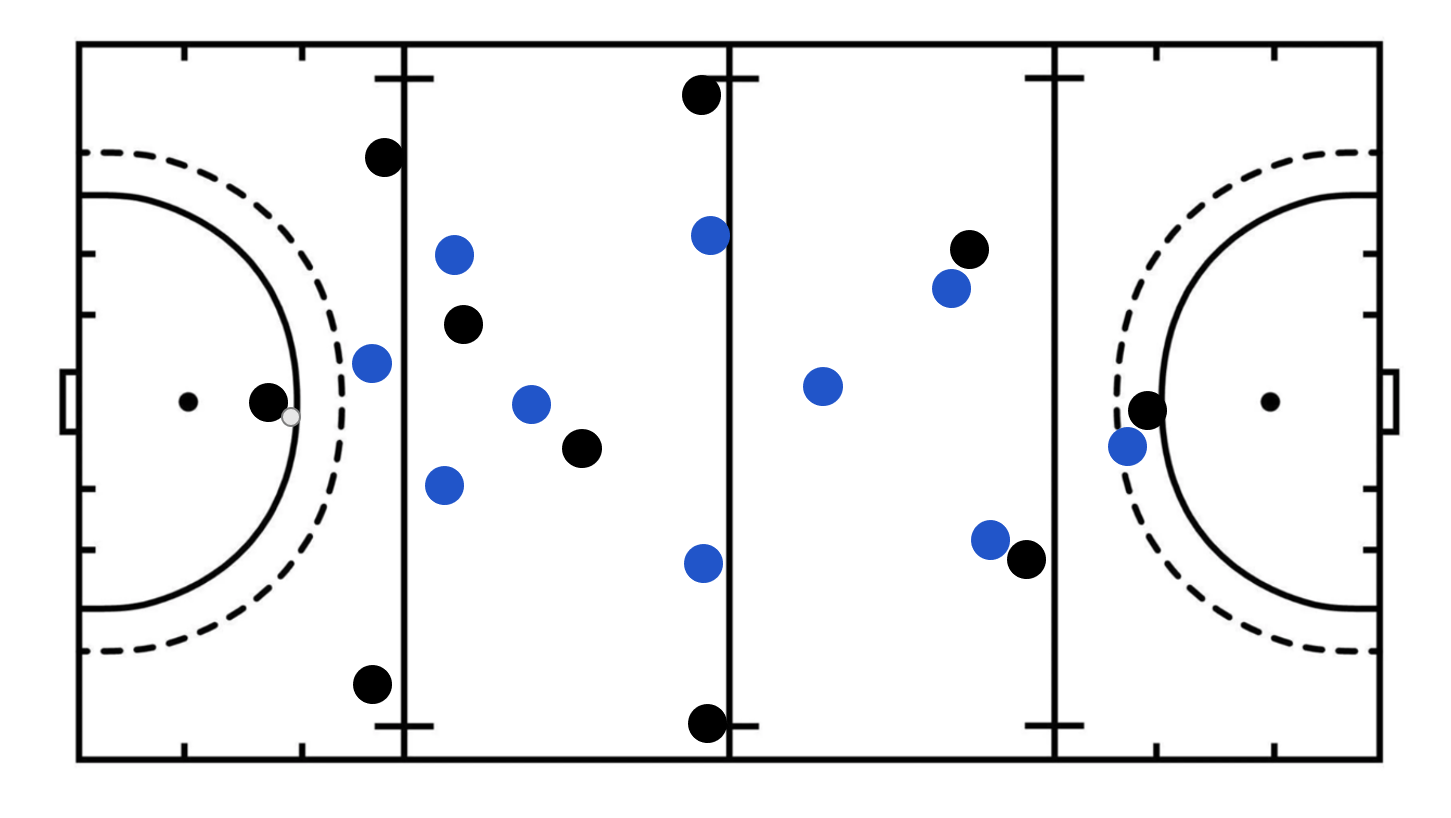
- The Front 3 and the Centre Half are arranged in a zonal diamond shape. This is designed to make the middle as uninviting as possible. This is done by limiting the space available for the opposing centre players to operate in. It is inviting the ball to either the Right or Left Half.
- The Right Wing and the Left Wing are very narrow to limit the opposing black Defensive Midfielders' space as mentioned before
- The Centre Forward is on the line between the oppositions Centre Back and shallow Midfielder. This allows our Centre Half (Defensive Midfielder) to offset slightly towards the opposition's higher Defensive Midfielder to further limit their space. However, if you are not comfortable with this you can simply sit in a diamond in line with the ball
- The Attacking Midfielders are marking the opposing Midfielders. The distance between them and their opponent is player preference. However, they must be close enough to discourage the aerial option and step in front to intercept when applicable
- The Freeman covers the space
- Halves mark their men. Ready to step in front and win the front space if needed
- Centre back is marking their man
Note: The defence can also sit zonally. Depends on the player's and coach's preferences
Pressing a Ball to the Left Half
Note: The press is the same when the ball is played to the Right Half. Additionally, if one of the opposition halves is weaker, you can offset the wingers to incite a pass to that side
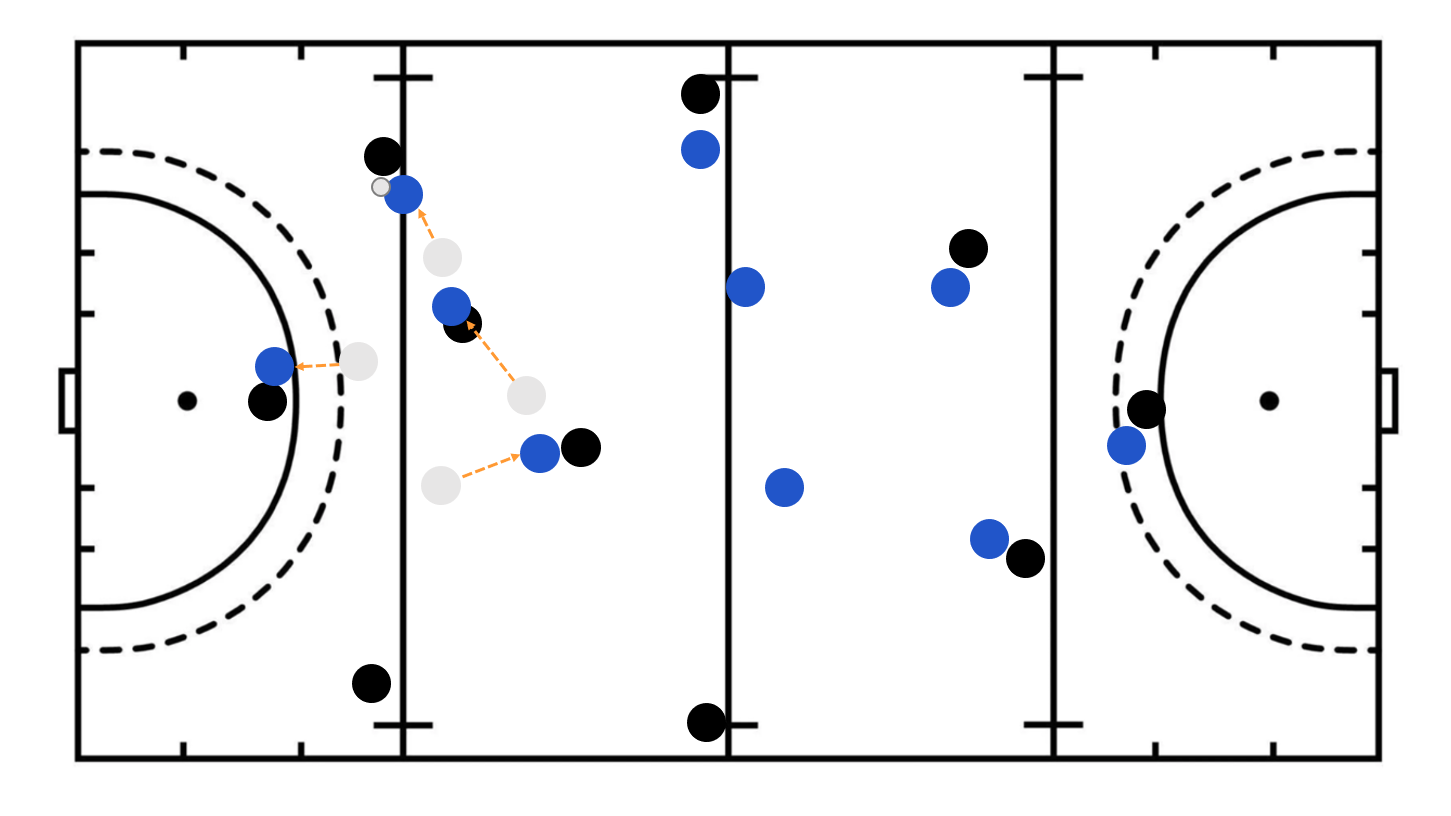
Front movements
- The Right Wing presses the opposition's Left Half
- The Centre Forward cuts the passing lane to the Centre Back
- The Centre Half steps in front of the ball side Defensive Midfielder to block that passing option.
- The Right Wing covers the higher help side Defensive Midfielder. The Right Wing can also cover the pass from the opposition's Left Half to Right Half if they think this is more threatening
Other movements
- The Right Attacking Midfielder moves into a position to intercept a possible pass from the opposing black Left Half
- The Freeman moves across to cover the space and the hotline
- The Left Attacking Midfielder (Help side midfielder) tucks into the middle for control
- Defence stays how they were. Stepping up to cover passes if need be
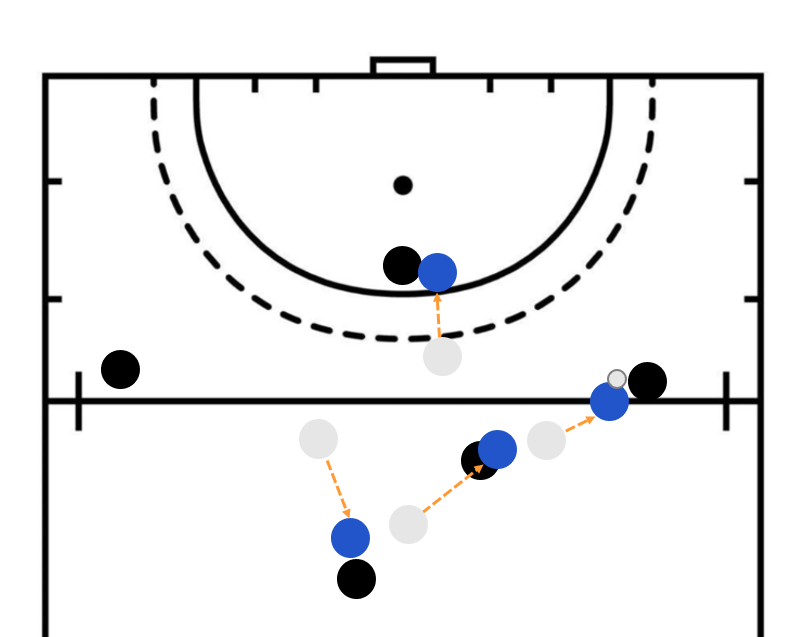
Other Ways to Press
A popular alternative is to drop the Centre Forward out and allow the two Wings to manage the back 3. Additionally, you can be aggressive and push the Freeman up to cover the additional Defensive Midfielder, going fully man-to-man.
You also do not have to press the half every time. You can drop out into 3/4 and protect the middle if you need to. However, you may need to adapt the press to prevent being exposed around the outside. Or you can slide the entire diamond across from side to side in a more zonal idea. As mentioned before, this is a basic press you can start with and adapt to your needs.